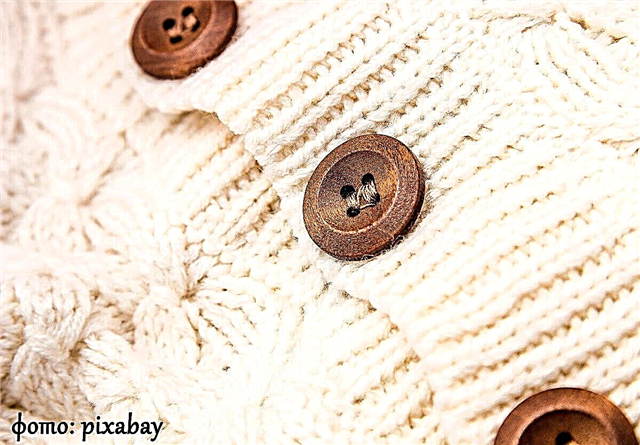
Buttons today, like many years ago, are used not only for their intended purpose and fulfill their practical function of a fastener, but are also widely used as a decorative element.
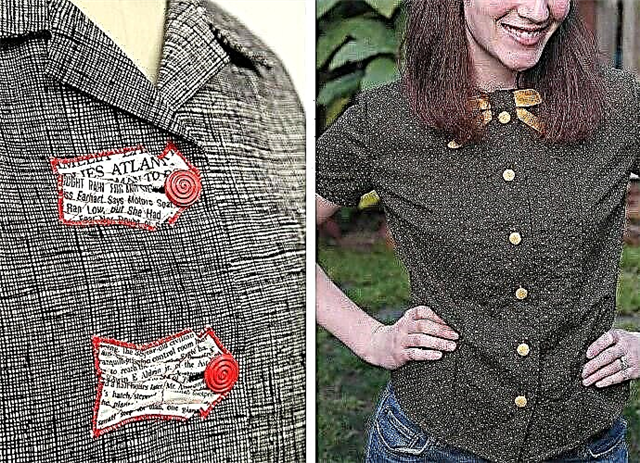
Sometimes, buttons, as the final touch, put an end to the final stage of the next sewing project.
10 unusual ways to sew a button
If everything is clear with the arrangement of buttons on the product, then questions may arise regarding button loops. Where is it necessary to mark the loops on a coat or, for example, a blouse? How to properly loop - horizontally or vertically? What size should the loops be?
We will try to answer these and other questions.
Horizontal or vertical layout
Usually, the technical drawing always shows in which direction the loops should be in a particular model. But this is not a strict rule, so you have the right to choose for yourself which loops to make - vertical or horizontal. Perhaps for one sewing project your creative inspiration considers it appropriate to have the opposite position of the loops, rather than indicated in the pattern.
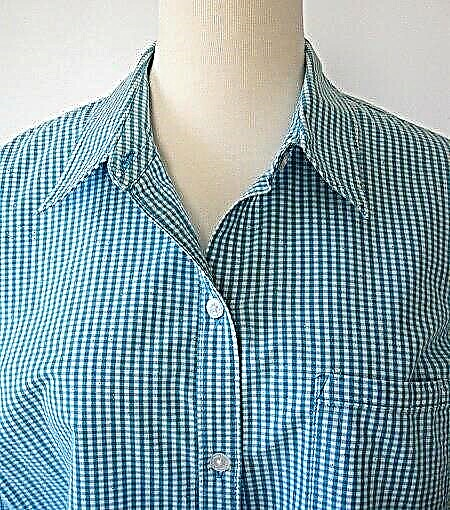
But still there are some standards that are specific to certain products.For example, in blouses and shirts, button loops are usually vertical. In classic models with a stand and with a strap, the hinges are arranged vertically, but the very first eyelet located on the stand of the collar is horizontal. Vertically located loops take up less space, so they are easily located on the bar regardless of their size.
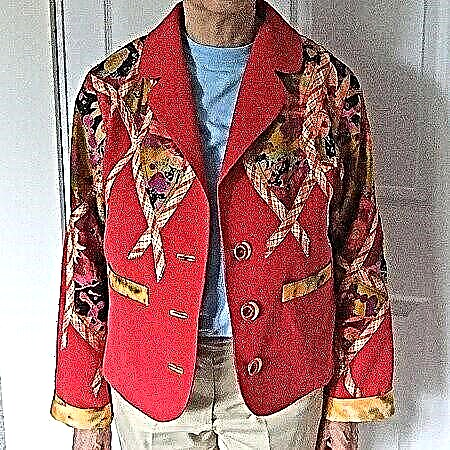
On jackets, coats, jackets, buttonholes are usually horizontal. This is due primarily to convenience and the fact that such an arrangement almost completely eliminates the deformation of the loops from frequent use.
Life hack: how not to ruin welt loops
Own choice: how to determine the location, direction of the loops and the intervals between them
You can always mark and perform loops as recommended in the instructions for the pattern of the selected model. Or, markup and determine the appropriate interval for an individual sewing project yourself.
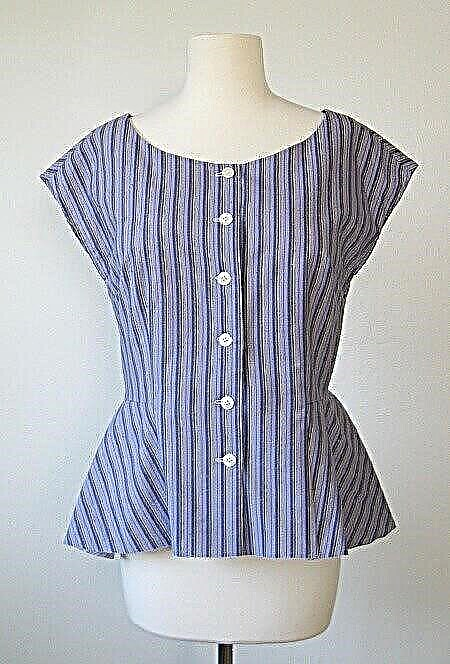
The blouse in the photo first marked out three main positions where the loops should be made - at the neck, along the chest and at the waist. The remaining loops are marked between them at the same interval.
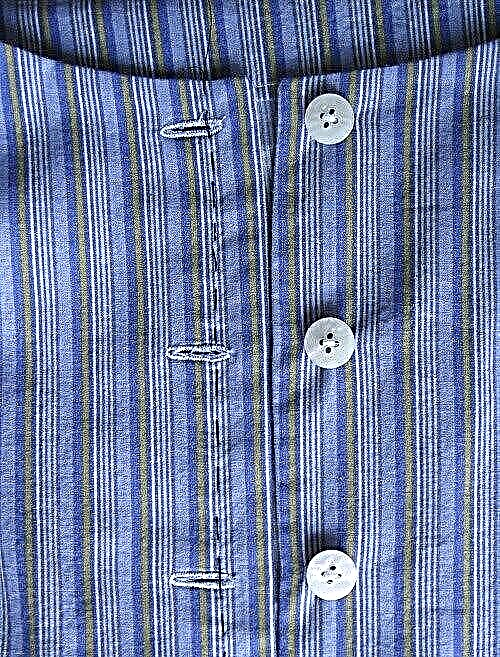
The outer edge of the loop should be closer to the edge of the bar / collar, slightly to the right of the midline.
How to process the weld loop manually
How to determine the size of the loop
Before sweeping the loops, make a sample and make sure that the size exactly matches the selected button. Do not neglect this step, especially when working with thick and dense tissues.
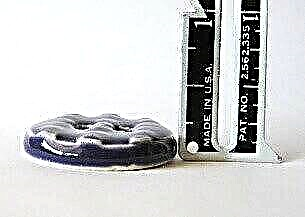
► Using a special ruler with a slider, measure the length of the button. If the button is bulky, additionally measure its height. Add these sizes and add another 1/8 part - this will be the length of the loop.
How to determine the size of the buttonhole for a round button
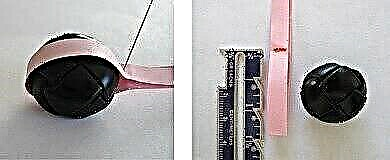
► wrap a button with a narrow strip of paper or tape and secure with a pin. Remove the button, use a ruler to measure the selected portion of the braid and set the appropriate loop size on the buttonhole foot.
How to decorate an embroidery jar for storing buttons
Always buy at least one button more, and you can store extra buttons in the most ordinary glass jar.
Source and photo: craftsy.com